Part 1
This is the first step – in Part 2 I cover adding bootstrap support.
Overview
Create a django site using django-skel on xubuntu 13.10 using django 1.5.
I have not created a new django site for a while (having been consumed with opencv and TurboGears), so I wanted to start a fresh walkthrough (also to prepare for startup weekend http://redesignsea.startupweekend.org/). By the end I was able to get an admin page going, a good layout for the project, and lots of helpful developer tools in place.
Following the excellent documentation provided for django-skel:
Install the Prerequisites
I started all this on a fresh vm of xubuntu 13.10
- I installed
- Konsole – for a terminal (I need the search functionality).
- virtualenv
- git – version control and set it up with my github.
virtualenv
I am going to start with a throwaway project for an initial pass, so I chose the wonderful name ‘prototype’
~/Desktop$ virtualenv prototype
cd prototype/
source bin/activate
django
WARNING – The documentation says django 1.5, by default I got 1.6 but in the next steps when you get to running pip install for the requirements it will grab 1.5.
(prototype)~/Desktop/prototype$ pip install django
Downloading/unpacking django
  Downloading Django-1.6.2.tar.gz (6.6MB): 6.6MB downloaded
  Running setup.py egg_info for package django

    warning: no previously-included files matching '__pycache__' found under directory '*'
    warning: no previously-included files matching '*.py[co]' found under directory '*'
Installing collected packages: django
  Running setup.py install for django
    changing mode of build/scripts-2.7/django-admin.py from 644 to 755

    warning: no previously-included files matching '__pycache__' found under directory '*'
    warning: no previously-included files matching '*.py[co]' found under directory '*'
    changing mode of /Desktop/prototype/bin/django-admin.py to 755
Successfully installed django
Cleaning up...
Walkthrough – getting-started
Following along http://django-skel.readthedocs.org/en/latest/getting-started/, I actually did not need to do anything different (the docs worked just as expected).
Note: it is worth noting that you will need to decide for yourself how you will handle your private settings information (passwords, etc). It was not obvious to me from the guide, but in past projects I forget and end up having to scrub out data from the repo before I make it public).
I did add the following libraries as recommended by the guide:
- sudo apt-get install python-dev
- sudo apt-get install build-essential
- sudo apt-get install libpq-dev
- sudo apt-get install libevent-dev
- sudo apt-get install libmemcached-dev
- sudo apt-get install postgresql-client
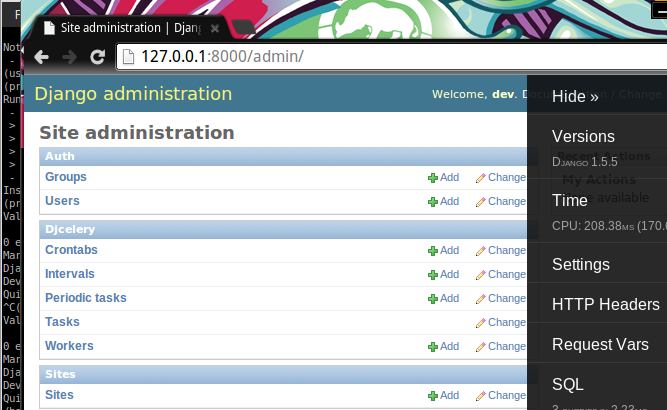
Started up as expected – success!!!
More Bells and Whistles
Now that I know everything works I am going to run through the process again with a project name I intend to keep. This is a good time to play around with all the normal stuff and make sure your ready to start building.
Verify tests pass –
python manage.py test
Optional: Also install – http://github.com/django-extensions/django-extensions
- I wanted to use some of these extensions because I enjoyed developing with them on a previous project.
- Just like the instructions on the django-extensions github page say, you just need to install it (I added it to my reqs/dev.txt) and add it as a module in your settings/dev.py
- I wanted to use runserver_plus, so I also added Werkzeug to my reqs
-r common.txt
django-debug-toolbar==0.9.4
django-extensions
Werkzeug
Result
This was sufficient to get me up and running with a django site with batteries included. I will handle adding a new page and making use of Bootstrap in my next post.
Continued in Part 2 where I cover adding bootstrap support.
